Dry Compartment Sealing
Version 2.0 | Last update: 07. 04. 2020
Printing
For successful assembly of this section you need print out these parts:
Sl1
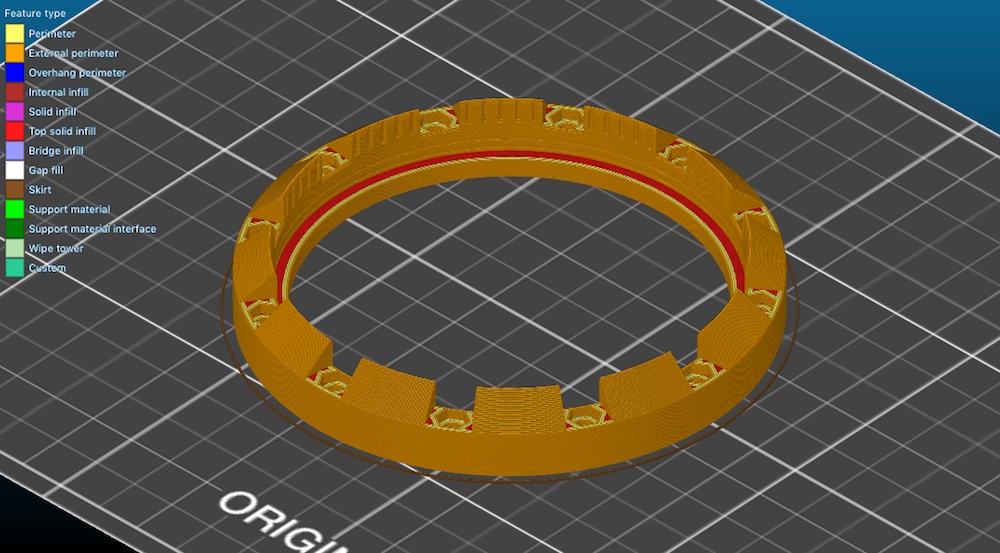
CRITICAL PART - PET-G filament recommended
Before start check this article: 3D printing of water proof objects for underwater applications
Can be printed without supports and brim.
Copies to be printed for one section: 2
Print time: 3h 17m*
Part version: V2.4
STL File name: A1_Sl1_2x_v2_4.stl
Sl2
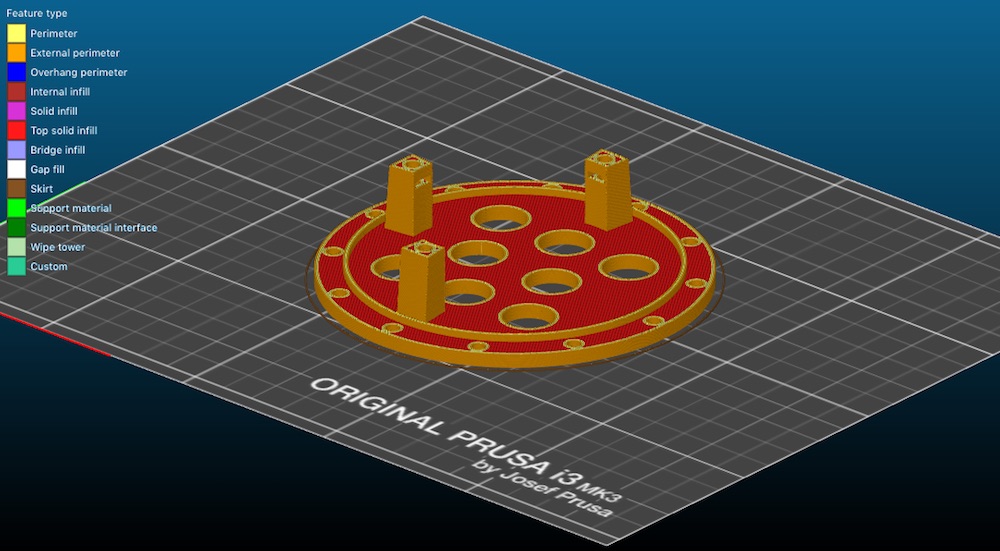
CRITICAL PART - PET-G filament recommended
Before start check this article: 3D printing of water proof objects for underwater applications
Can be printed without supports and brim.
Copies to be printed for one section: 1
Print time: 2h 40m*
Part version: V2.3
STL File name: A1_Sl2_1x_v2_3.stl
Sl3 - Penetrator's nut
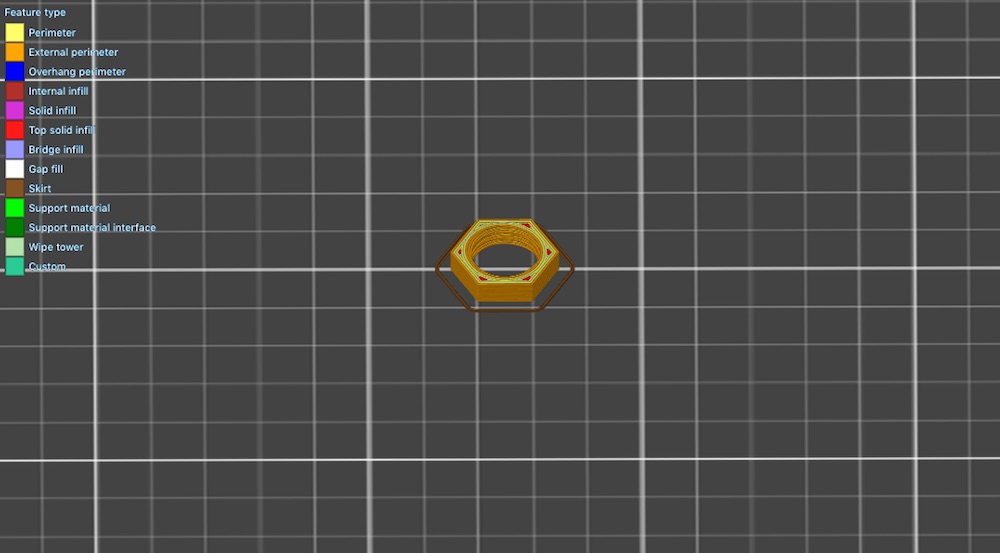
Non-critical part. Do not apply water tight printing techniques on this. Part shoud be prined with standard settings so that the thread has the necessary space.
Beacause part has thread, use best possible 3d print qality/detail settings.
Can be printed without supports and brim.
Copies to be printed for one section: 16
Print time: 8m*
Part version: V1.0
STL File name: A1_Sl3_16_v1_0.stl
Sl4 - Blinder
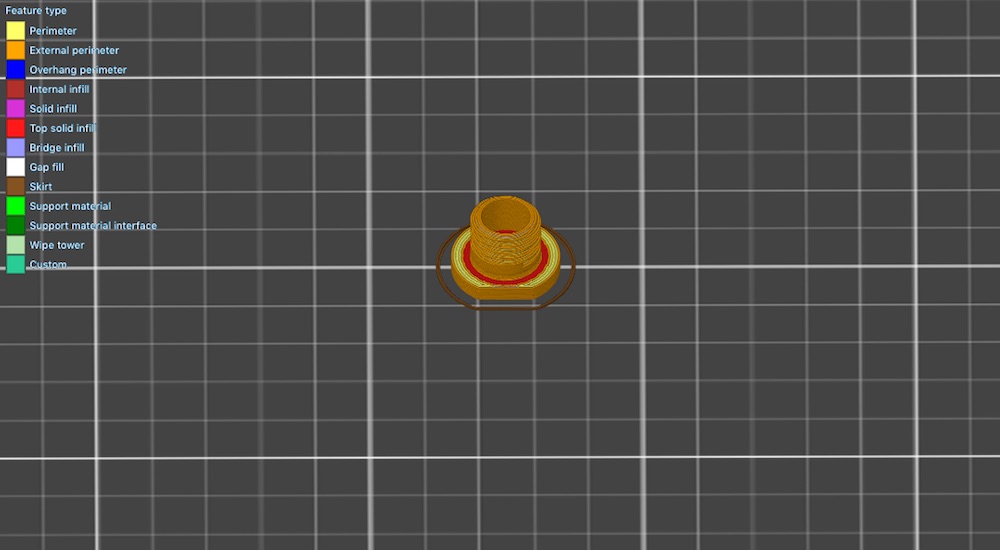
CRITICAL PART - PET-G filament recommended
Before start check this article: 3D printing of water proof objects for underwater applications
Beacause part has thread, use best possible 3d print qality/detail settings.
Can be printed without supports and brim.
Copies to be printed for one section: Depends on setup
Print time: 15m*
Part version: V1.0
STL File name: A1_Sl4_xx_v1_0.stl
Sl5 - Penetrator for 4mm wire
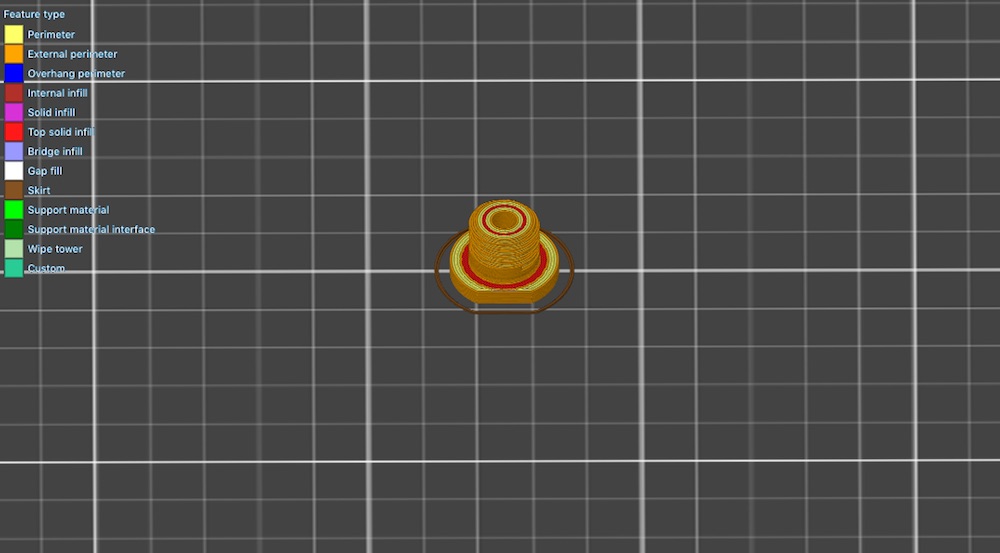
CRITICAL PART - PET-G filament recommended
Before start check this article: 3D printing of water proof objects for underwater applications
Beacause part has thread, use best possible 3d print qality/detail settings.
Can be printed without supports and brim.
Copies to be printed for one section: Depends on setup
Print time: 22m*
Part version: V1.0
STL File name: A1_Sl5_xx_4mm_v1_0.stl
Sl6 - Penetrator for 6 mm wire
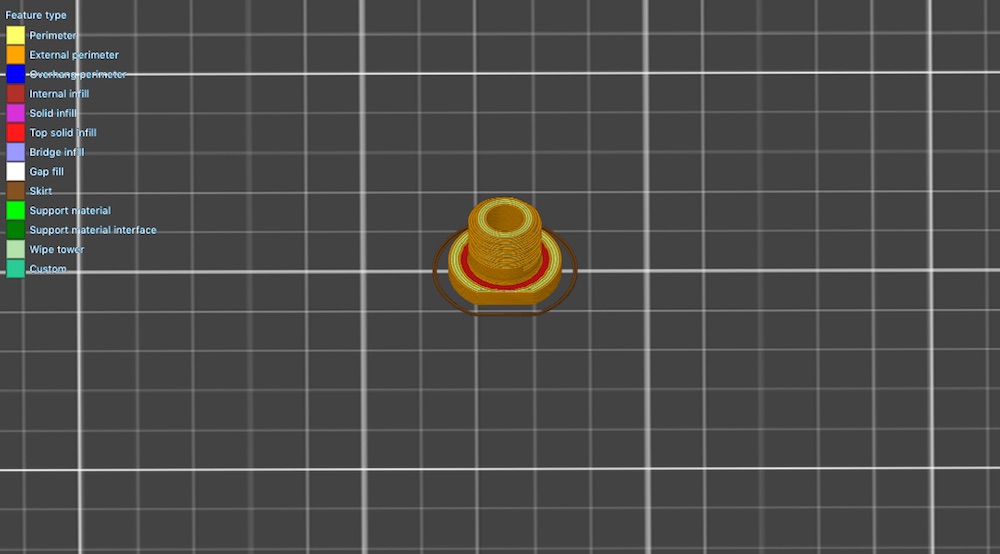
CRITICAL PART - PET-G filament recommended
Before start check this article: 3D printing of water proof objects for underwater applications
Beacause part has thread, use best possible 3d print qality/detail settings.
Can be printed without supports and brim.
Copies to be printed for one section: Depends on setup
Print time: 20m*
Part version: V1.0
STL File name: A1_Sl6_xx_6mm_v1_0.stl
* Times were measured with settings of 0.20 layer height, 40% infil, for PLA filament. Sliced with Slic3r for MK3 Prusa printer. Note, that this is not print settings recomendation. Read this
Assembly
Chose number and sizes of your penetrators and blinders. It means how many wires you will need to come out of dry compartment and what thickness of wires you will use. Penetrators are available with hole diameter of 4 mm and 6 mm. Rest of additional holes we will provide with blanking plugs : blinders.
Assembled penetrators consists of plug, o-ring and nut.
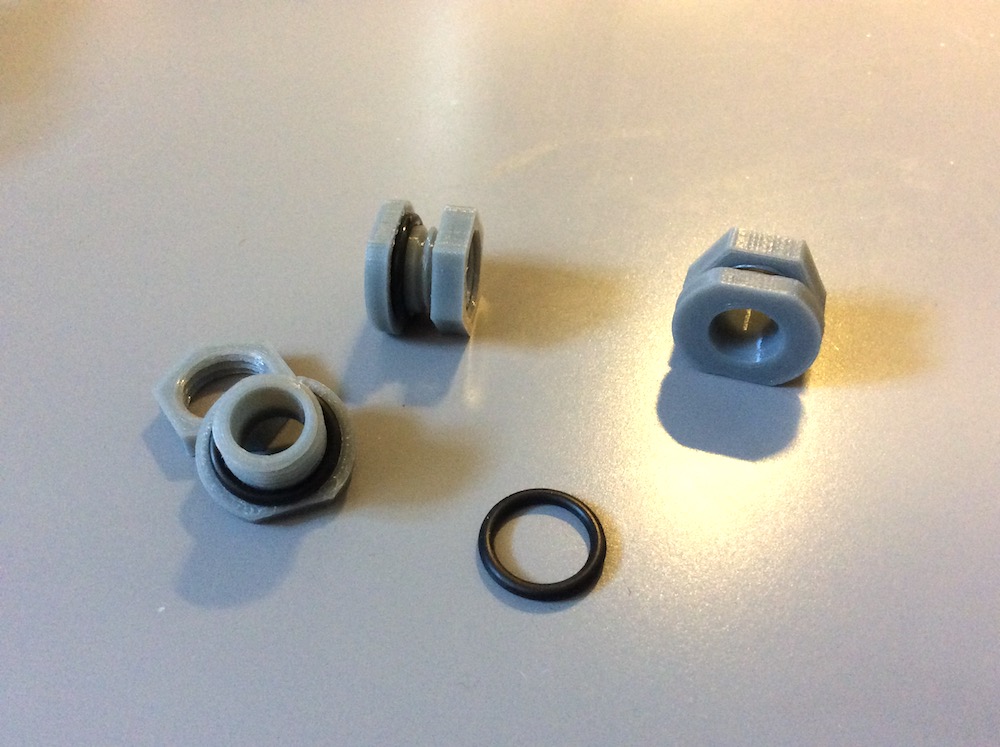
Same with blinders - plug, o-ring, nut.
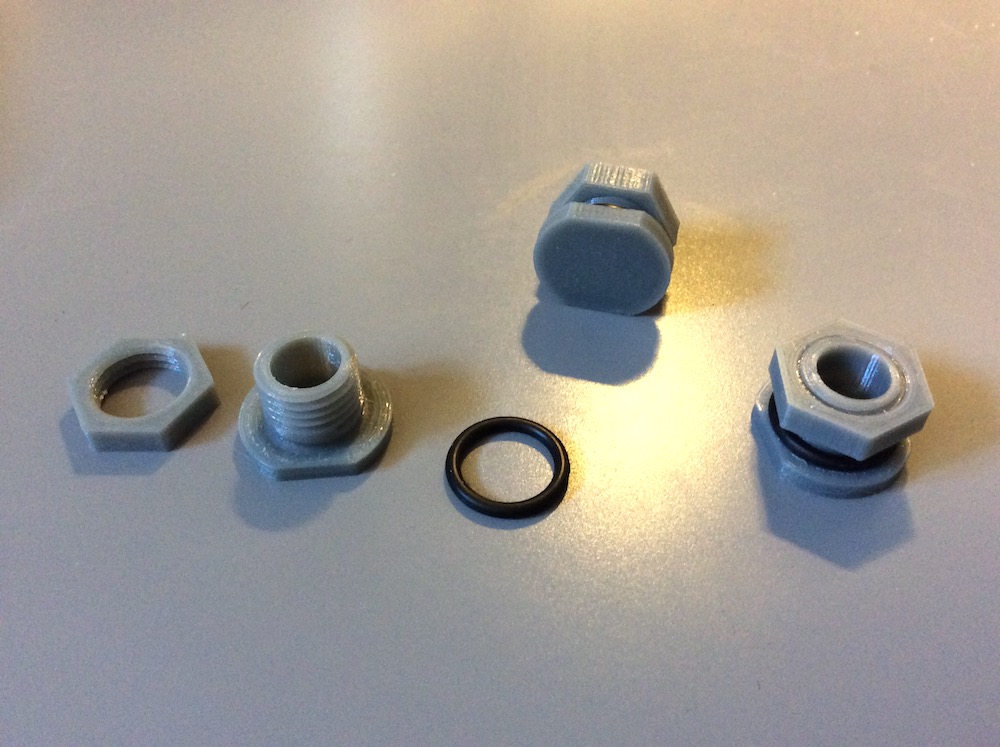
Inner diameter of o-ring is 12 mm. Thickness 2 mm = 12x2
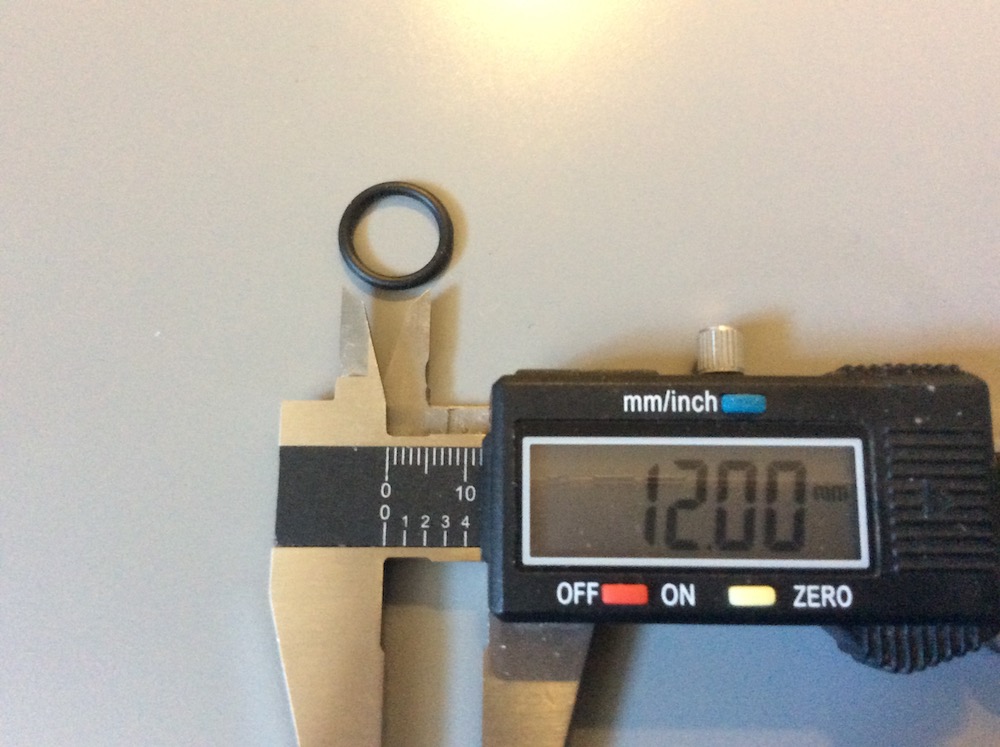
In case you can't find o-ring provider, you can improvise with party balloons. Cut the end and give him the new life of something more useful : the o-ring.
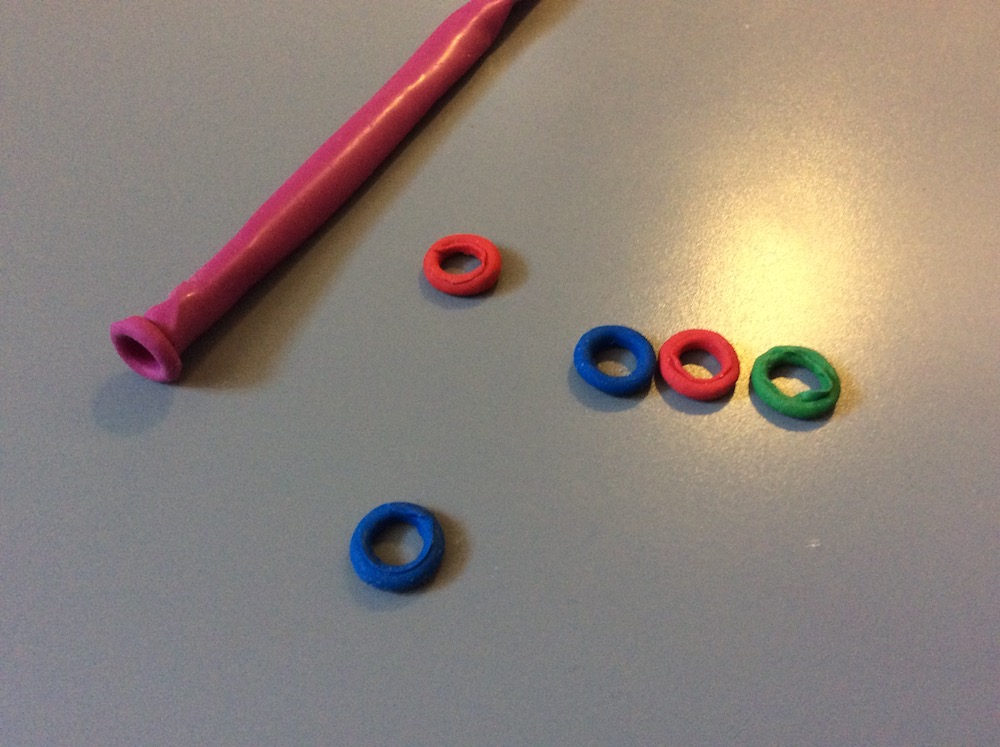
This is how they look mounted on sealing cap.
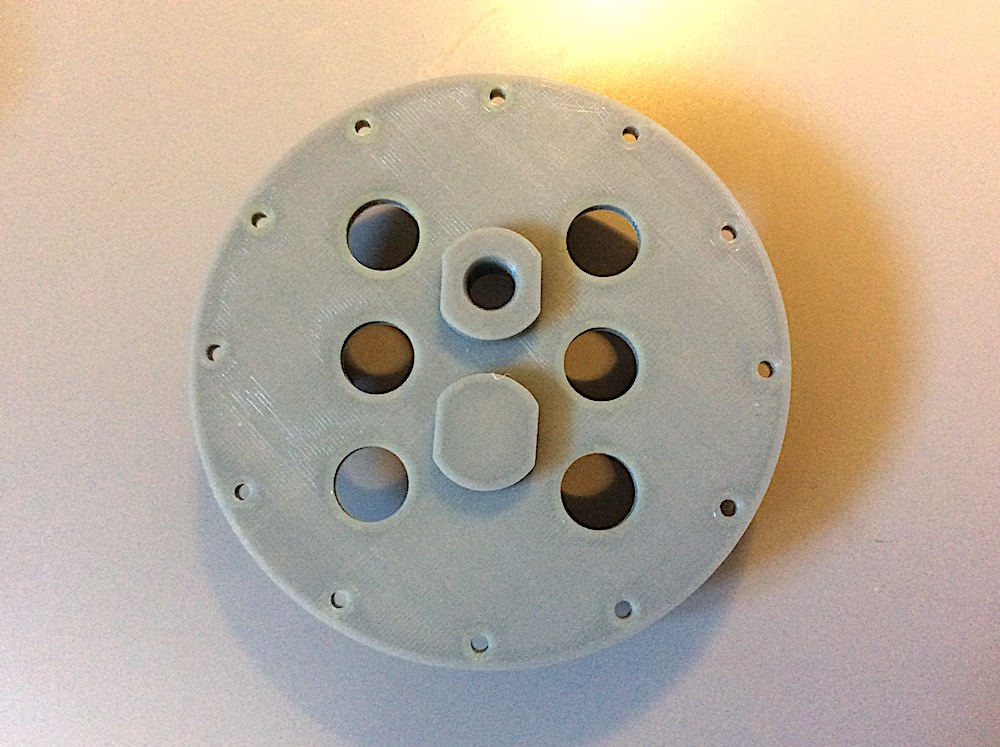
There is no need to force the plug be tight too much. It should be tied securely and also gently. Note the space between plug and sealing cap.
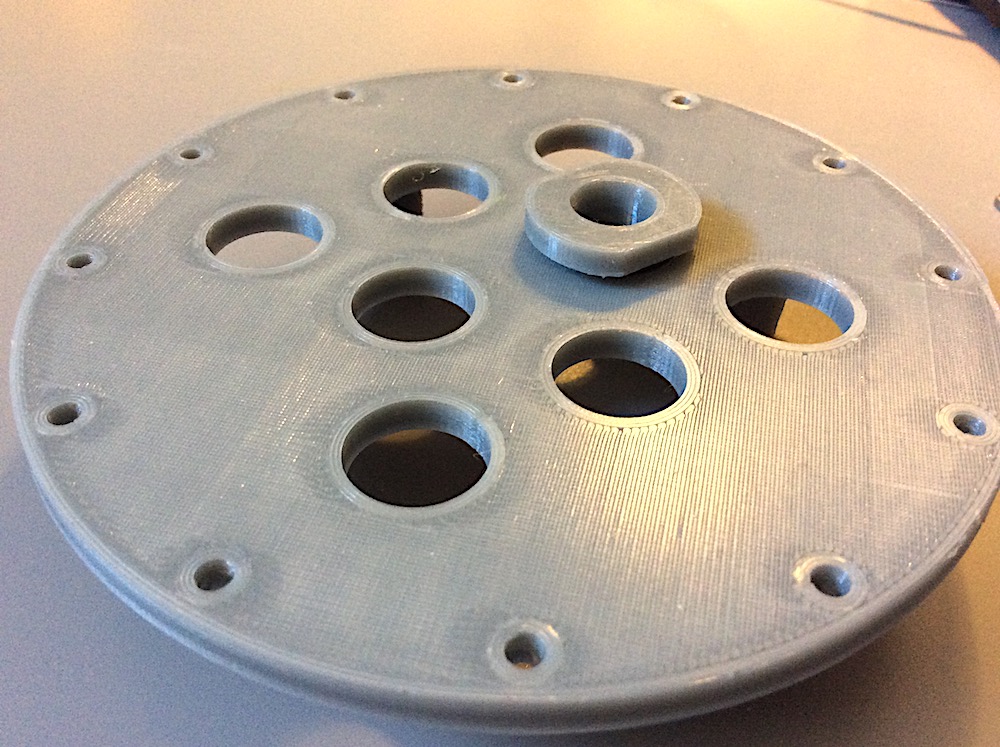
Wires going through penetrators should be securely sealed with epoxy (or with other solutions) to be completely watertight and protected from accidental tear out.
This documentation book is released under the CC-NC-SA 4.0 License.